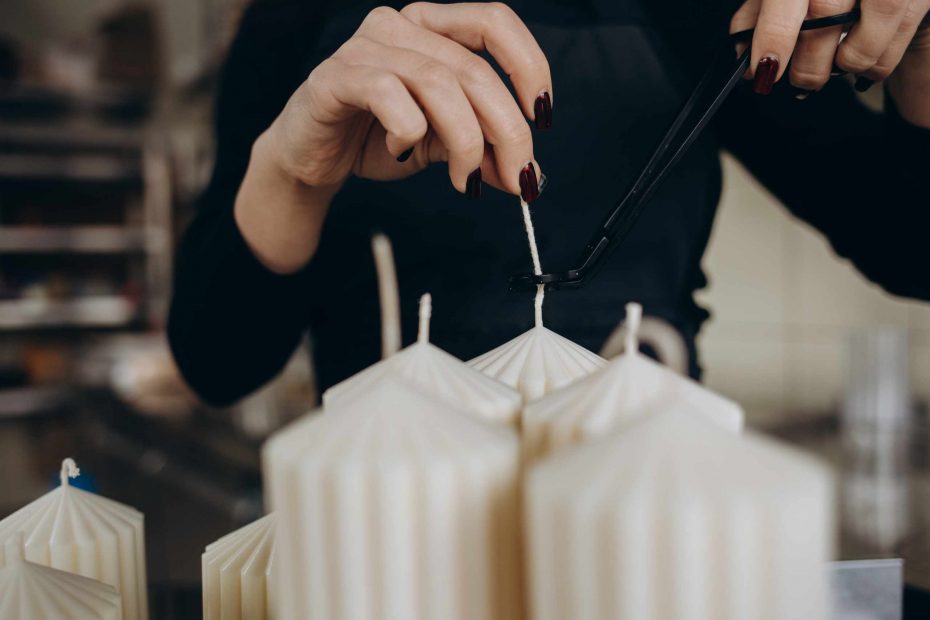
It’s the moment when you have a clean heat-safe jar ready, a pre-tabbed wick placed inside, and a pitcher of warm, melting wax within reach of pouring. You might think you can just pour first and straighten the wick afterward, but that typically complicates matters. Once your wax starts filling up your container, the wick tab can easily slide off-center, the cotton can easily lean, and a tiny displacement at the bottom can translate into a glaringly obvious lean by the time your candle has fully cooled.
The reason wick centering is important is that your wick is far more than a decorative centerpiece in a candle; it impacts how your candle looks and how well it burns. The shape of the melt pool, as well as the finished candle, is far easier to review when your wick is centered. With a small container candle, a slight tilt could mean that one side of your melted wax pool forms faster than the other side. With your wick centered, you’ll get a better starting point when reviewing the finish surface later, trimming the wick, or conducting a safety burn.
Before you begin to heat your wax, centering the tab in the empty jar and trying it on your own gives you a good foundation. Look straight down into the jar instead of looking from the side to judge how centered your wick is. If using a wick sticker to secure your wick tab, press it firmly to the base of the container, then use a wick holder to keep the wick straight and centered. A dry practice session like this is useful because your hands feel less rushed and your jar is cool, so you don’t feel pressured to move quickly.
One great practice exercise is to practice centering three empty jars before making your real candle. Center your wick loosely off-center in the first jar so you can see how easy it is to spot from directly overhead. In the second jar, use a wick holder to stretch the wick very tightly off to one side, then observe from overhead. Finally, in the third jar, center the wick so it rises straight from its base tab through the middle of the container’s opening. This quick exercise is beneficial because your eyes get trained to recognize what centered actually looks like before wax makes it harder to correct.
Beginners sometimes focus too much on pour temperature, fragrance load, or dye amount that the wick placement gets forgotten. In a way, wick drift is the easy thing to miss in an otherwise carefully executed pour. You might weigh the wax on a digital scale, stir in the fragrance load with a gentle touch, and pour in a consistent flow. Yet, if the wick moves as the wax sits in liquid, your candle is still going to look misshapen in the end. Good preparation ensures that the easy part doesn’t end up causing trouble later.
After the candle has poured, do not push or nudge the jar as the wax begins to set. While a wick holder can help, the candle still needs to sit without movement in order to cure. If the wick starts leaning, make a small correction as soon as you notice it, before the surface becomes too firm. Do not keep fiddling with or pulling the wick when your wax becomes thicker, as this motion can disturb the top surface and leave marks around the wick. A calm work area with plenty of space around your candle jar makes a big difference.
The ultimate goal is not an absolutely perfect candle. Rather, you want the wick to be fairly centered from its bottom tab to the top of a trimmed wick in a candle that you can examine and see whether the primary issue is centered placement. With the wick centered at this first step, everything else becomes easier to see later: the melt pool, the surface, how the candle behaves when cooling, and the notes you jot down for the next candle to be made.